Zotero
![]()
Zotero is a bibliography management software.
Having complete and rigorous bibliography information is necessary in academic documents (thesis, dissertation, article). It can also be very important for blog or website posts, videos, scripts, and many others. It can additionally be very useful for managing personal resources, as we will see later. The bibliography information of a document is called ‘meta-data,’ i.e. data about the document, but outside the document (its title, its publication date, its author(s), etc.).
Features of Zotero
Zotero allows you to :
- Easily save all the metadata associated with a document (title, authors, place of publication, date, URL, etc.).
- Associate notes or tags to each reference or document.
- Sort these references by categorys, or by their characteristics to find them easily.
- Download associated PDF files when possible.
- Export bibliography files that contain all the details of the references, so that they can be inserted into a document.
- Insert and manage the bibliography of a document in Microsoft Word, Libreoffice or Google Doc using its plugins.
Installing Zotero
- Go to the Zotero website and download the installer.
- Follow the instructions to install it.
- If Zotero offers you to install the module for Word or Libreoffice, you can do it now; otherwise, it will be offered as an exercise later.
- Open Zotero. In its window, go to the
Toolstab, and click on theInstall the Zotero Connector in the browseroption. Follow the instructions to install the connector.
Prise en main de Zotero
The main interface
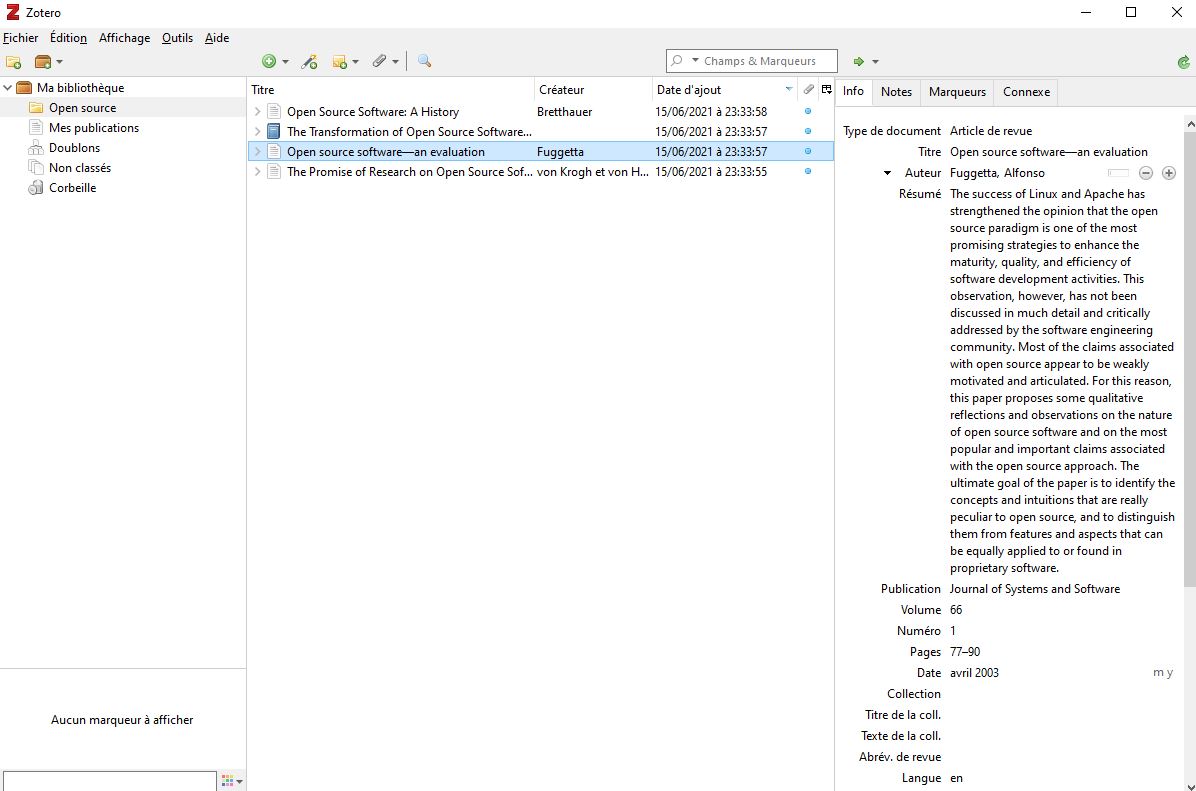
In its main interface, Zotero offers you a menu on the left where you can create different “collections” that contain references.
In the middle, you will find the list of references of the collection you are in.
On the right, you will find the details of a reference you have clicked on.
At the top, you will find different options to create a reference yourself. However, you will be able to do it automatically thanks to the extension that will connect Zotero to your web browser.
The Zotero Connector for your web browser
When you go to a web page, read a blog post or a scientific article in your web browser, the Zotero Connector allows you to save the information from the page you are reading in your reference library with one click.
To do this, you just need to click on the connector button in your web browser, normally located in the upper right corner. This button can have different icons, depending on the page you are on. **Zotero will automatically detect the document the page is referring to, whether it is a blog post, a book, or a scientific article.
Exercises
1. Creating a collection
- At the top left of the Zotero window, find the “create a new collection” button. Use it to create a new collection of articles named “Exercise.”
2. Retrieving 5 different references
- In the Zotero window, make sure you are in the article collection named “Exercise.”
- Go to the following links in your web browser: Link 1, Link 2, Link 3, Link 4, Link 5.
- For each of the links, use the Zotero connector button in your web browser to have Zotero save the metadata related to the 5 articles directly into your library.
- Look at the articles in the Zotero window: Zotero could not find all the metadata for two of them. We will go and look for them ourselves using Google Scholar.
- Go to Google Scholar. In the search bar, type the title of one of the two articles that Zotero failed to detect correctly.
- In the list of Google Scholar results, find the article. Also in this list, find the quotation mark button under the article’s information. In the pop-up that opens, click on the link that says “BibTex.”
- Google Scholar will take you to a page with a text sequence. This is the information related to this reference in a format called “BibTex.” Select the text and press
CopyorCtrl + C. - Go back to the Zotero window, go to the
Filetab, then clickImport from Clipboard. - You can now see that Zotero has inserted the correct metadata for this article. Delete the incomplete metadata by right-clicking on it, then `Remove document to trash’.
- Repeat the operation for the other article that Zotero did not detect well.
3. Installing the Zotero module for Word or for Libreoffice
- If you did not do so during the installation, install the Zotero module for Microsoft Word or for Libreoffice, by clicking on
Edit,Preferences,Citetab,Text processingtab,Install word moduleorInstall Libreoffice module.
4. Installing the Zotero “Better BibTex” plugin
- Do a right clic on this link and select “Save link as…” to download the “Better BibTex” plugin
💡 The “Better BibTex” plugin allows to better connect Zotero with other software that uses Markdown. We’ll use it next!
- In the Zotero window, go to the
Toolstab, thenExtensions. Then click on the little gear icon on the right side of the window, and choose the “Install from a file” option. In the window that opens, select the “Better BibTex” plugin file that you downloaded. - Restart Zotero.
5. Exporting your Zotero database with the automatic update option
- In the Zotero window, go to
File, and select theExport Libraryoption. - In the Format list, choose the
Better BibTexformat - In the options, choose the
Keep currentoption, and leave all others unchecked. - Export the resulting .bib file somewhere on your computer.
💡 This .bib file contains the information of all the references in your library, together with a small code for each one that we will be able to insert in Markdown documents. On top of that, it is automatically kept up to date with the “Better BibTex” plugin; this means that every time you add a reference in Zotero, this .bib file will be updated to add it.
6. Using the Joplin BibTex plugin to add references
- Open Joplin.
- Go to the
Toolstab, then click onOptions. - Go to the
Pluginstab in the options menu. - In the search bar, look for the
Bibtexplugin and install it. - Restart Joplin.
- Go back to the
Toolstab, then click onOptions. - Go to the
BibTex Plugintab that appeared in the options. - In the
BibTex Filefield, write the path to the .bib file you generated in exercise 5. - Choose the
Pandoc syntaxoption (coming soon). - Exit the options, and create a new note named “Note with references” in Joplin.
- In this note, write the following sentence:
Open-source software has a long history .- Position your cursor in the Joplin editor just before the period at the end of the sentence. Then, you have two choices:
- In Joplin, in the toolbar containing the editor buttons, click on the button shaped like a graduation hat. In the list that opens (which contains your references), look for the article by
Bretthauerthat you added earlier. Press “Enter” to validate. - Write the code for the reference yourself, by writing square brackets
[ ]with a@inside, pasted to the article’s unique identifier in Zotero (found at the very top of the article information).
- In Joplin, in the toolbar containing the editor buttons, click on the button shaped like a graduation hat. In the list that opens (which contains your references), look for the article by
- Once you have added the reference, watch how it looks in the editor.
💡 You can observe that the BibTex plugin formats the reference inside the text, but also automatically adds a “references” part at the end of your note that indicates all the documents referenced in your note.
💡 The syntax I recommend you use in your markdown notes for references is the one used by Pandoc, a well known open-source software that allows you to transform a text document into almost any format. This elegant syntax allows you to put the citation in the text in the format you want. To learn more about this syntax, go to this link.